Wednesday, September 20, 2017

A Wand For Your Thoughts.

So, for all you Harry Potter fans out there this is for you. As you all know the first of September was Hogwarts start of term, so being a big fan of the books I decided to make Sirius Black's wand.


The detail on this wand took me about three hours, but I love how it turned out and it was so much fun to make the little symbols.


The Elder Wand.
I wanted to try and make the elder wand so I could cosplay with it, so I just pulled up a reference photo sat down at my desk and got to work. It was really hard getting the color right I went through so many different shades of paint, the only thing I'm not really happy with on it is the little white part where the symbols are that part I made just a little bit too small and if I could go back and change it I would but then if I did then it wouldn't want to make me learn harder for the next time I tried.


Lord Voldemort's Wand. 
First off, I can't tell you just how hard it was to make that little pointy part it took so many tries to get to stick out like that.
Nevile Longbottom's Wand
So here I have Nevile's wand and I'm just going to say that while making this I got super frustrated, I didn't have enough clay for the whole wand so that's why it looks that way. And I was not very happy with how I did his handle, so here's how I get over my frustration.... I just work through it or I start over. Now as frustrating as that sounds I just work through it or again I get up and walk away for a small break than I sit down and try to focus, so right now I'm just trying to come up with new designs. And that's the fun! Getting to use my imagination, getting to be creative and that's why I love making things with polymer clay, there are just so many things that you can make and it's really amazing. So, in the end, we all know it's just a wand for your thoughts.

Tuesday, September 12, 2017

What I hope to be.

Hey, you guys! So many new things have happened to me this year, I don't know where to begin, so I'll start here. Over the past few weeks, I've been trying to build up on special effects makeup supplies, but as you guys know they are really expensive! So I've been using child's finger paint and eyeshadows, and some other things I could find around the house. But I recently made a homemade nose and scar wax with just flour and vaseline and it worked just fine.
And the finished product
So as you can see this was my first time working with wax, it was really easy to apply and I was happy with how it turned out but the only thing that is a down side to the wax, is that once the vaseline touches your skin it start's to melt and get's shiny as you can see in the picture. Now if you guys are squeamish then I'd say don't scroll down but for those who aren't, by all means, please scroll on,
I was bored one night so I used my imagination for this one.
Okay, so I know this is so gross but this is something I love doing and something that I hope one day will be my profession, I'm trying to make video's and post them online but I've just been so jam packed with work that I just don't have the time, but I know that if I want to do this then I have to make time for it.
As you can tell I made a bruise on my forearm.
So I love trying new methods and techniques but most of the time I don't follow them right, but then again that's how I learn by making mistake's most of the time I do get frustrated when I mess up but that's just part of it. All of these pictures are from this year and the ones I'm about to show you are from a few years ago after I had just started getting into doing this so it's ok if you guys cringe ;)
As you can see I didn't blend the makeup around the wound so that part stands out and takes away from the wound itself. 
I cringe when I see this because it was my first try and I can point out a lot of things wrong with this but I'm not going to if you're a special effects artist and you're reading this then please tell me what I'm doing wrong.
This was a few years ago and as you can see this was the second time I think that I had tried to do scratches, so it doesn't look really realistic.
I even tried to do characters but I don't have the right makeup for it so I just used what I had and this was how it turned out.
Lara Croft. 
This was taken a few weeks ago just to show you how I'm practising, I made the necklace from polymer clay and it took me for ever to do the details on it but I think it turned out ok, for the dirt I just used the brown paint from the child's paint and I did the same for her cut's and bruises, I'm so happy with how this turned out I never thought I could do until I tried. I know this was a very short blog but I just wanted to give you a little taste of what I'm doing so far, I hope in the near future to blog more and just share with you guys how things are coming along.

Friday, February 13, 2015

Somewhere over the rainbow

I know it's been a long time since I last wrote a post, but life has been pretty busy for me, in a good way. One of the many busy things I did was purchase a mini rainbow loom late last year and learned how to use it. These are some of the first ones that I made on the loom; they only took me about ten/twenty minutes to make. 
Fishtail Bracelets
I also learned how to make these really fun and easy flower ring holes. It took me a few tries but I ended up getting the hang of it. I learned how to do these on youtube. I don't think their called flower ring holes but that's what I'm calling them. 


These fun and cute cross bracelets are a perfect gift for a friend, family member, or for your grandmother's birthday. I also learned how to make these on youtube. I did not make these on the mini loom, I made them with my loom hook.


I learned how to do this one on the bigger loom. It took me a little bit, but I ended getting the hang of it. You can find how to do these on youtube as well. 


This spiral bracelet I made on the mini loom and, again, you can find it on youtube. 


If your looking for a fun and cool looking bracelet try these out. 


This I made on the bigger loom. It's called the Infinity Bracelet and I learned how to do this from a girl on youtube. I made three. One in blue and black and the other yellow and glow in the dark bands. 


I made these with my fingers. It's really easy. You just take your pointer and index finger, put a band on (twisting it in a figure 8), then put on another band, Pull the bottom band over the top one then add another band, then repeat, keep doing that and your bracelet will continue to grow. And ending off is the same way. You would end off using the mini loom, with a C or an S clip; it doesn't matter what one you use.      


And this one is the same thing, I used a broken earring for the center. But you could use whatever you wanted. 


Now these charms I made on the larger loom. As you can see their flowers and fruit. Really great friendship bracelet charms. 


Now I will try to post a youtube video for you guys so just hang tight. And by the way my younger sister named my post. :) 

Monday, September 23, 2013

Just a sample

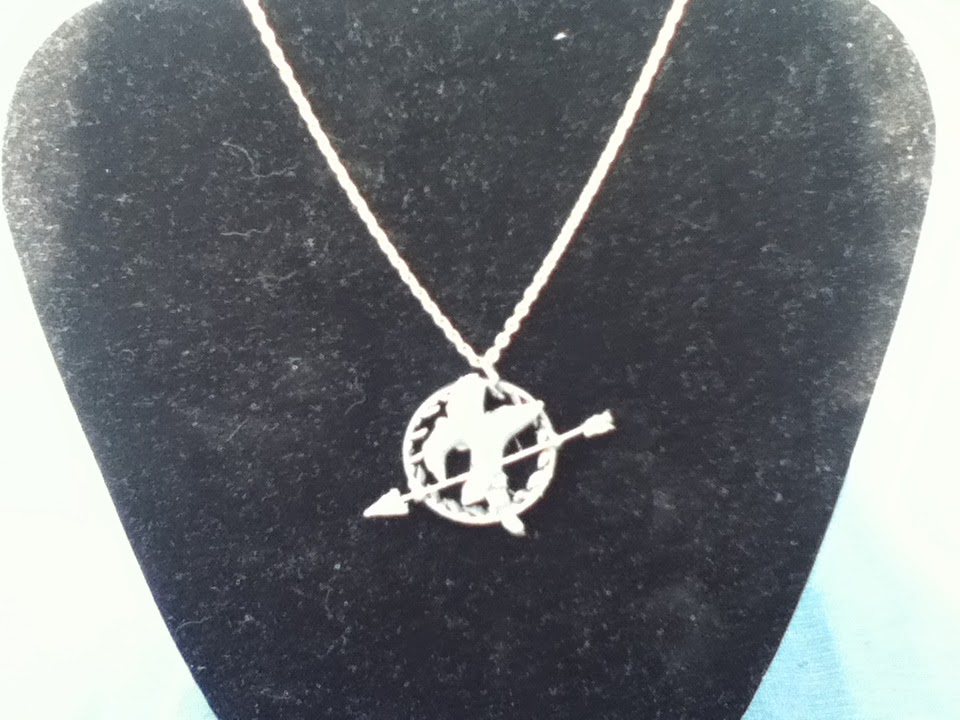
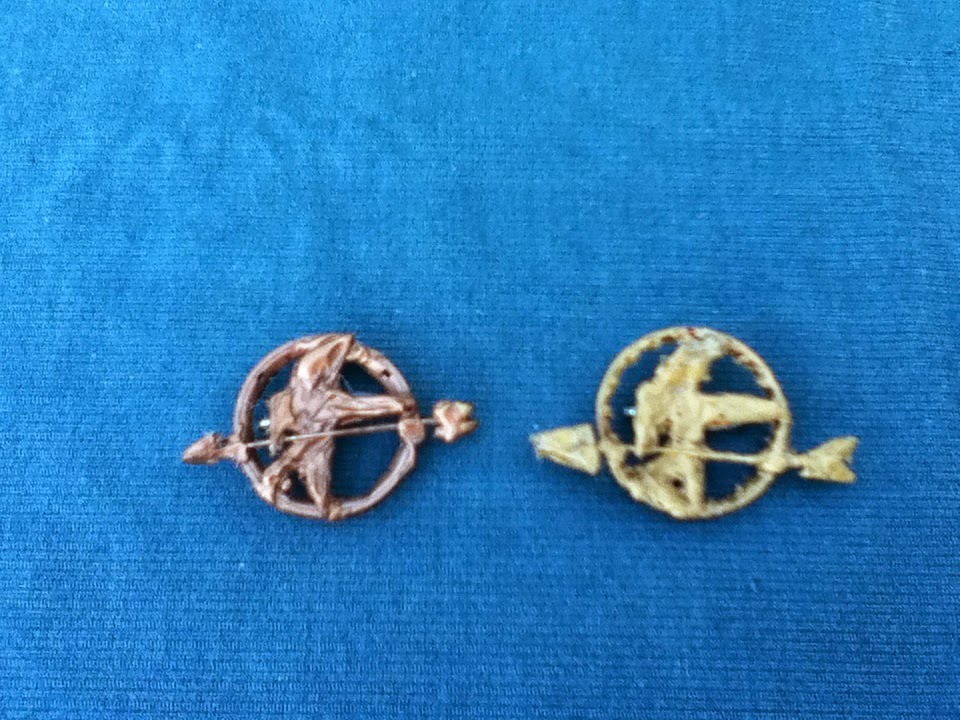
This is just a sample of some of my jewelry:


Good Things Come To Those Who Wait

Hey there everyone!   I know it's been a while since my last blog post but things have been so busy that I haven't h...